


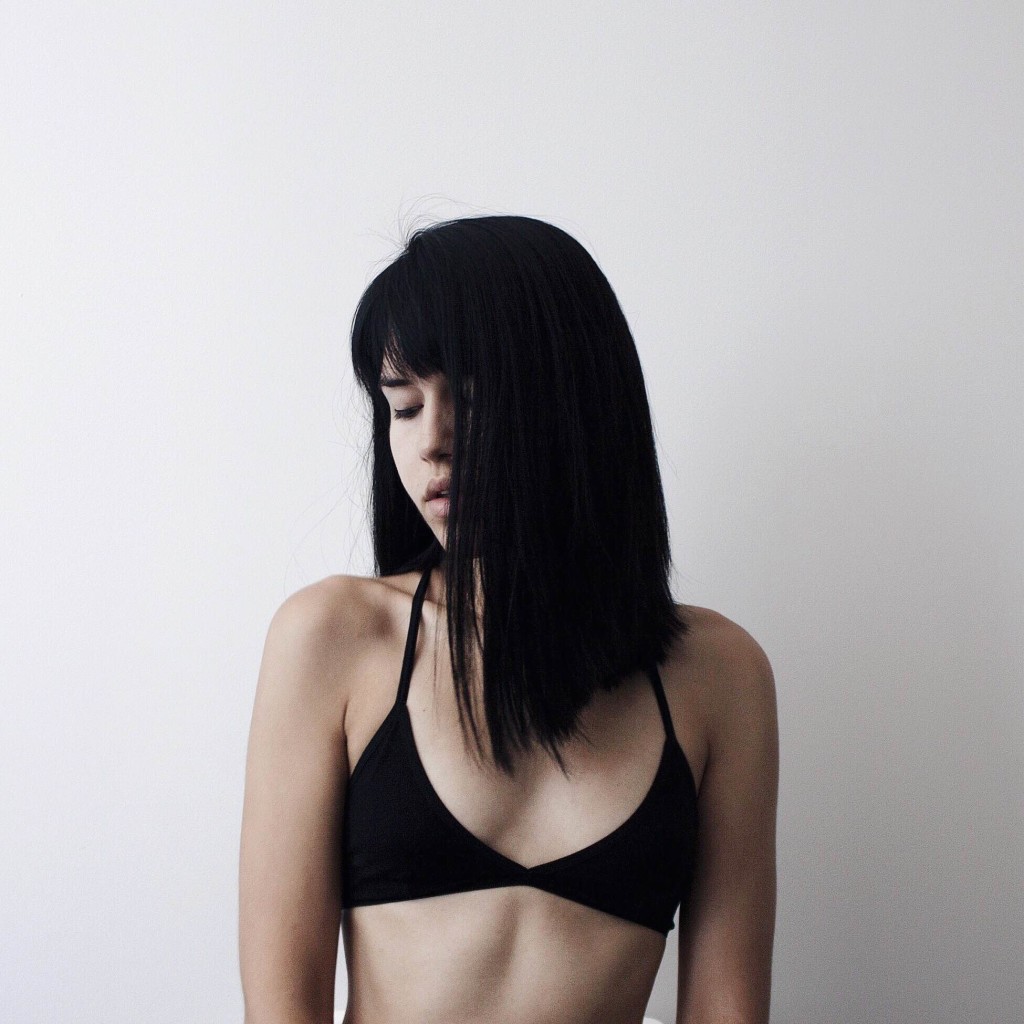
Little known fact about me…I worked at a salon for two years, and I studied cosmetology all 4 years throughout high school. During that period, I ran through pretty much every colour – from fire-engine red, to bleach blonde to purple. I guess you can say that my current hair has kind become my ‘signature’ over time – an ultra-dark, sharp lob (long bob) with bangs. I haven’t really strayed from that over the last few years, because I mean, really, what would I do? Blonde? No. Red? No. I’m The Brunette Salad after all, haha. But the whole grey trend was super-intriguing to me from the get-go and something I felt I could get on board with. As much as I hate to admit it, the thing that really sparked my interest was a photo of Kylie Jenner (don’t judge). So when I finally decided to take the plunge, I reached out to my good friends at Redken, who I knew would take ultra-good care of my strands. They put me in the hands of Marie-Eve Faucher (one Redken’s artists), to get me to silver fox status.
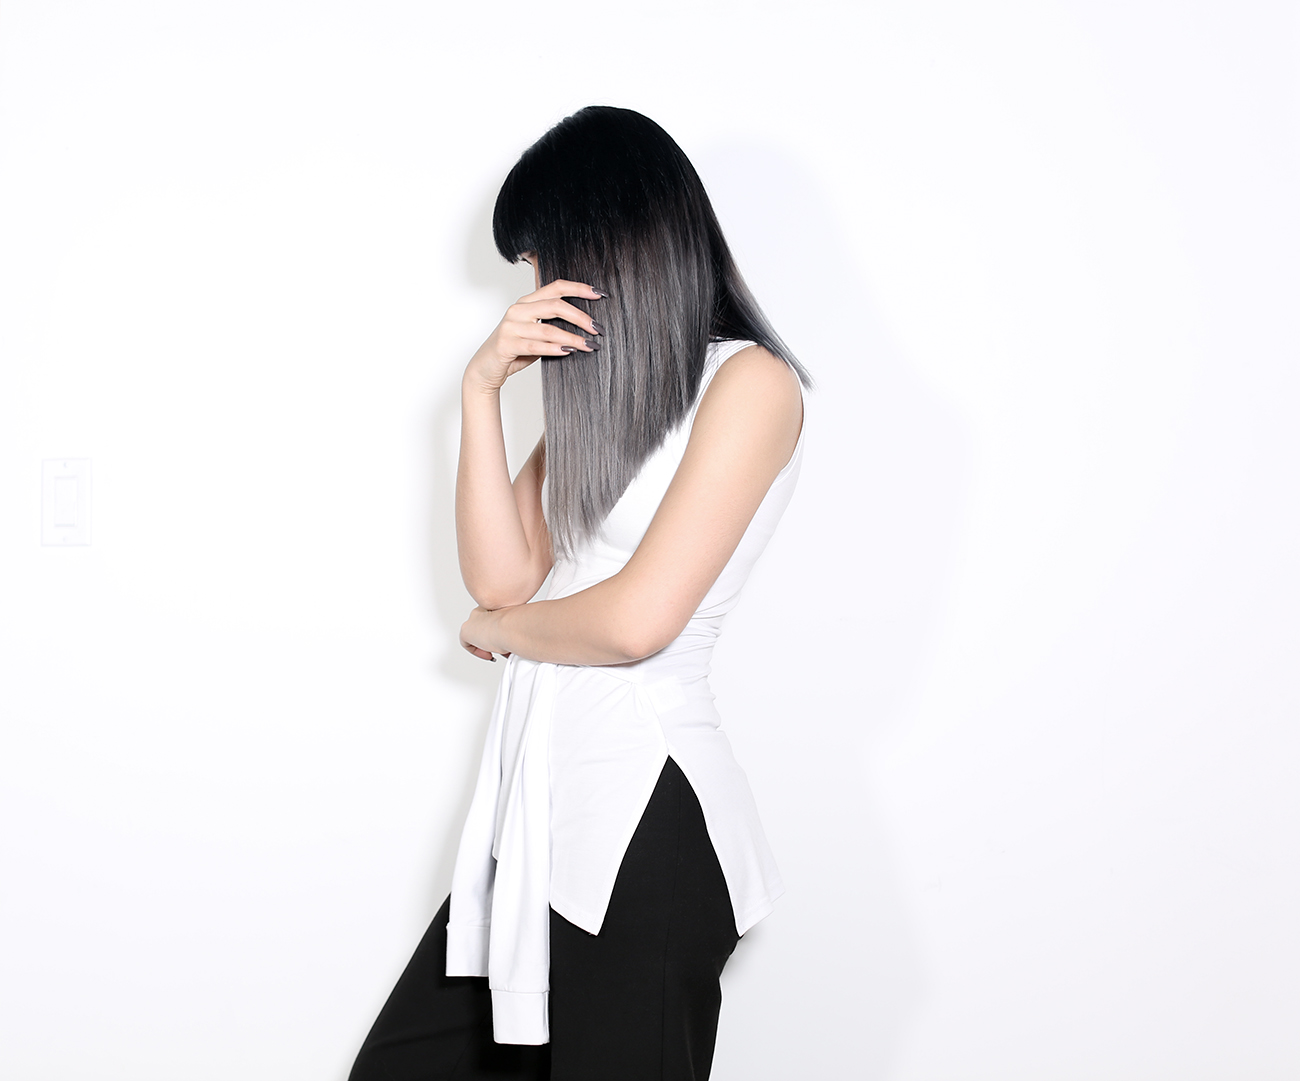
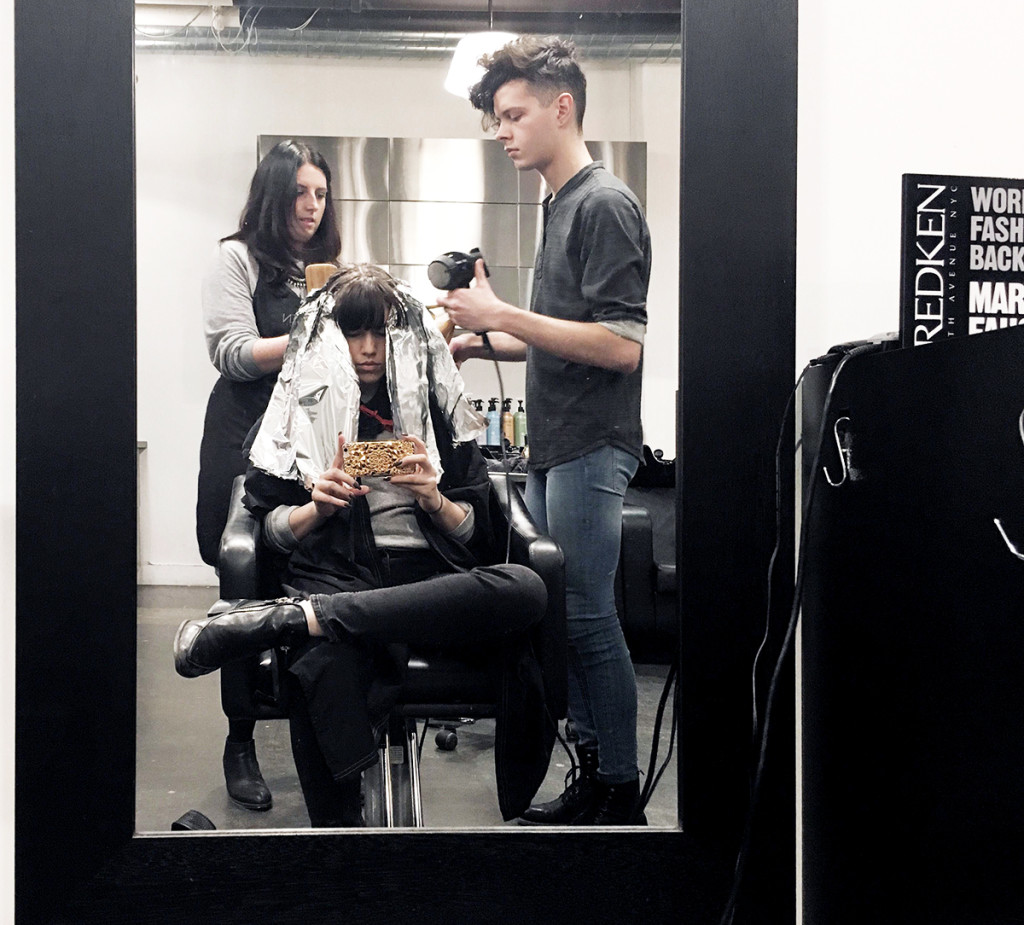 Above was my hair before. So before we could get to the fun part, first things first: I was booked for a consultation to do a strand test first (to test the resistance of my hair). This is a super important step when going lighter – it’s really the only way to see how the hair is going to react to the lightener, and determines how light you can go in one shot. The verdict for me: My hair was resistant enough to support a lift, but one application of lightener wouldn’t be enough for the level of lightness I wanted – so we had to do a double-process. Knowing this, Marie-Eve went with the ponytail technique for ombre (which allows you to reapply a second time on the same section, as it is impossible to reapply twice on the same hair with a free hand or highlight technique). She started the lift with Redken Flash Lift, which is a maximum lift lightener. In between, she did a treatment and dried the ponytails, then reapplied the lightener for round two. She went with Redken Blonde Icing – a very soft and healthy lightener for the hair. One thing I witnessed from my time in the salon is that people think they can go from black to blonde in a day. Most of the time, that isn’t possible (without completely destroying your strands). The hair can only lift a few shades in one session, so it’s important to think realistic when you’re trying to do a transformation like this. I knew I wasn’t going to go super bright ash grey in one shot – so we planned for a cool medium grey until my next session (in a month-ish).
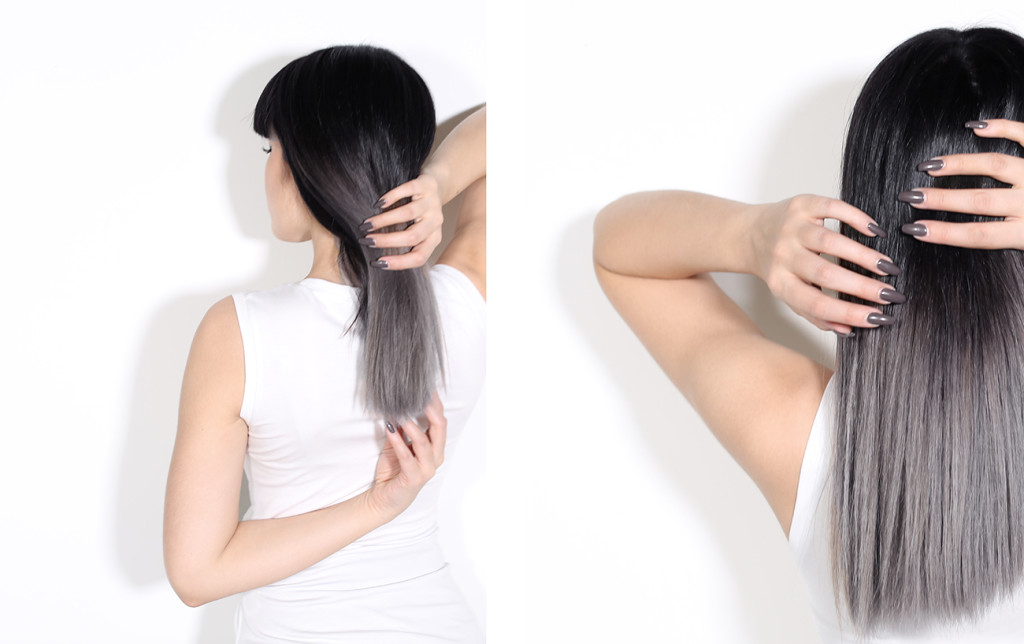
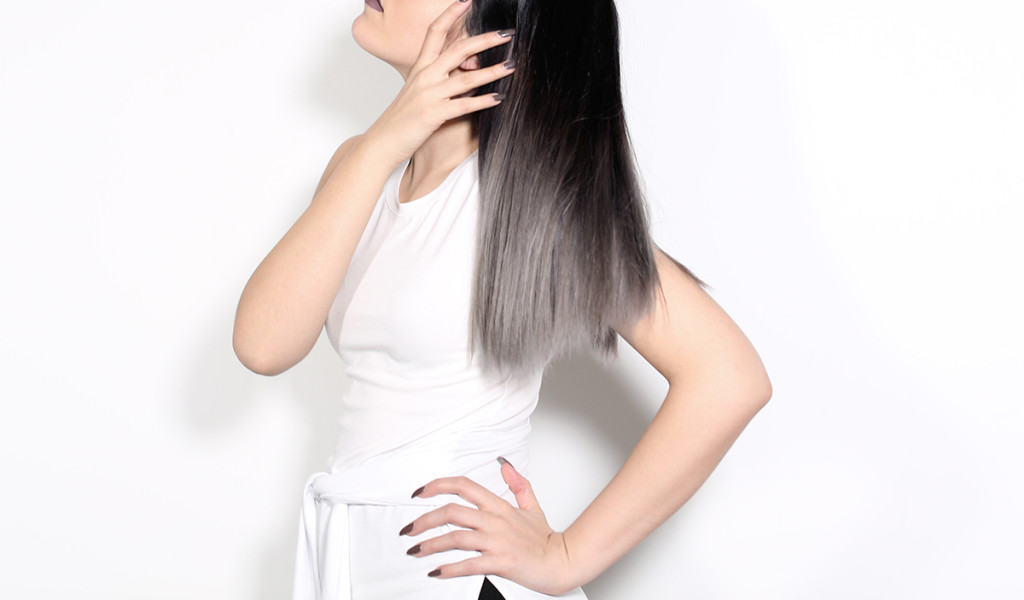
After drying, my roots were coloured (I’m a natural mousy brown and wanted my roots jet black), and ends were toned with Redken SEQ gloss, which is a demi-permanent color that deposits color into the hair without damaging it. Marie-Eve used a blue-violet colour to neutralize the warm color left from the lifting process. After processing and rinsing, my ends were done with our target color, the dark grey.
8 hours later (!!!!!) and presto – it was done. It was a huge process, but in my opinion, so worth it. The colour is exactly what I wanted – subtle but still bold enough. I was also amazed at how healthy my hair still felt after a double process, which has a lot to do with Redken’s amazing product line. When I worked at the salon, Redken’s Extreme range is what we recommended to anyone that had a lot of processing done to their hair – it literally puts protein (which gets destroyed during lifting) back into your hair and rebuilds it. Here are the products currently on my repertoire, and should be on yours if you plan to go grey as well 😉
Products: